
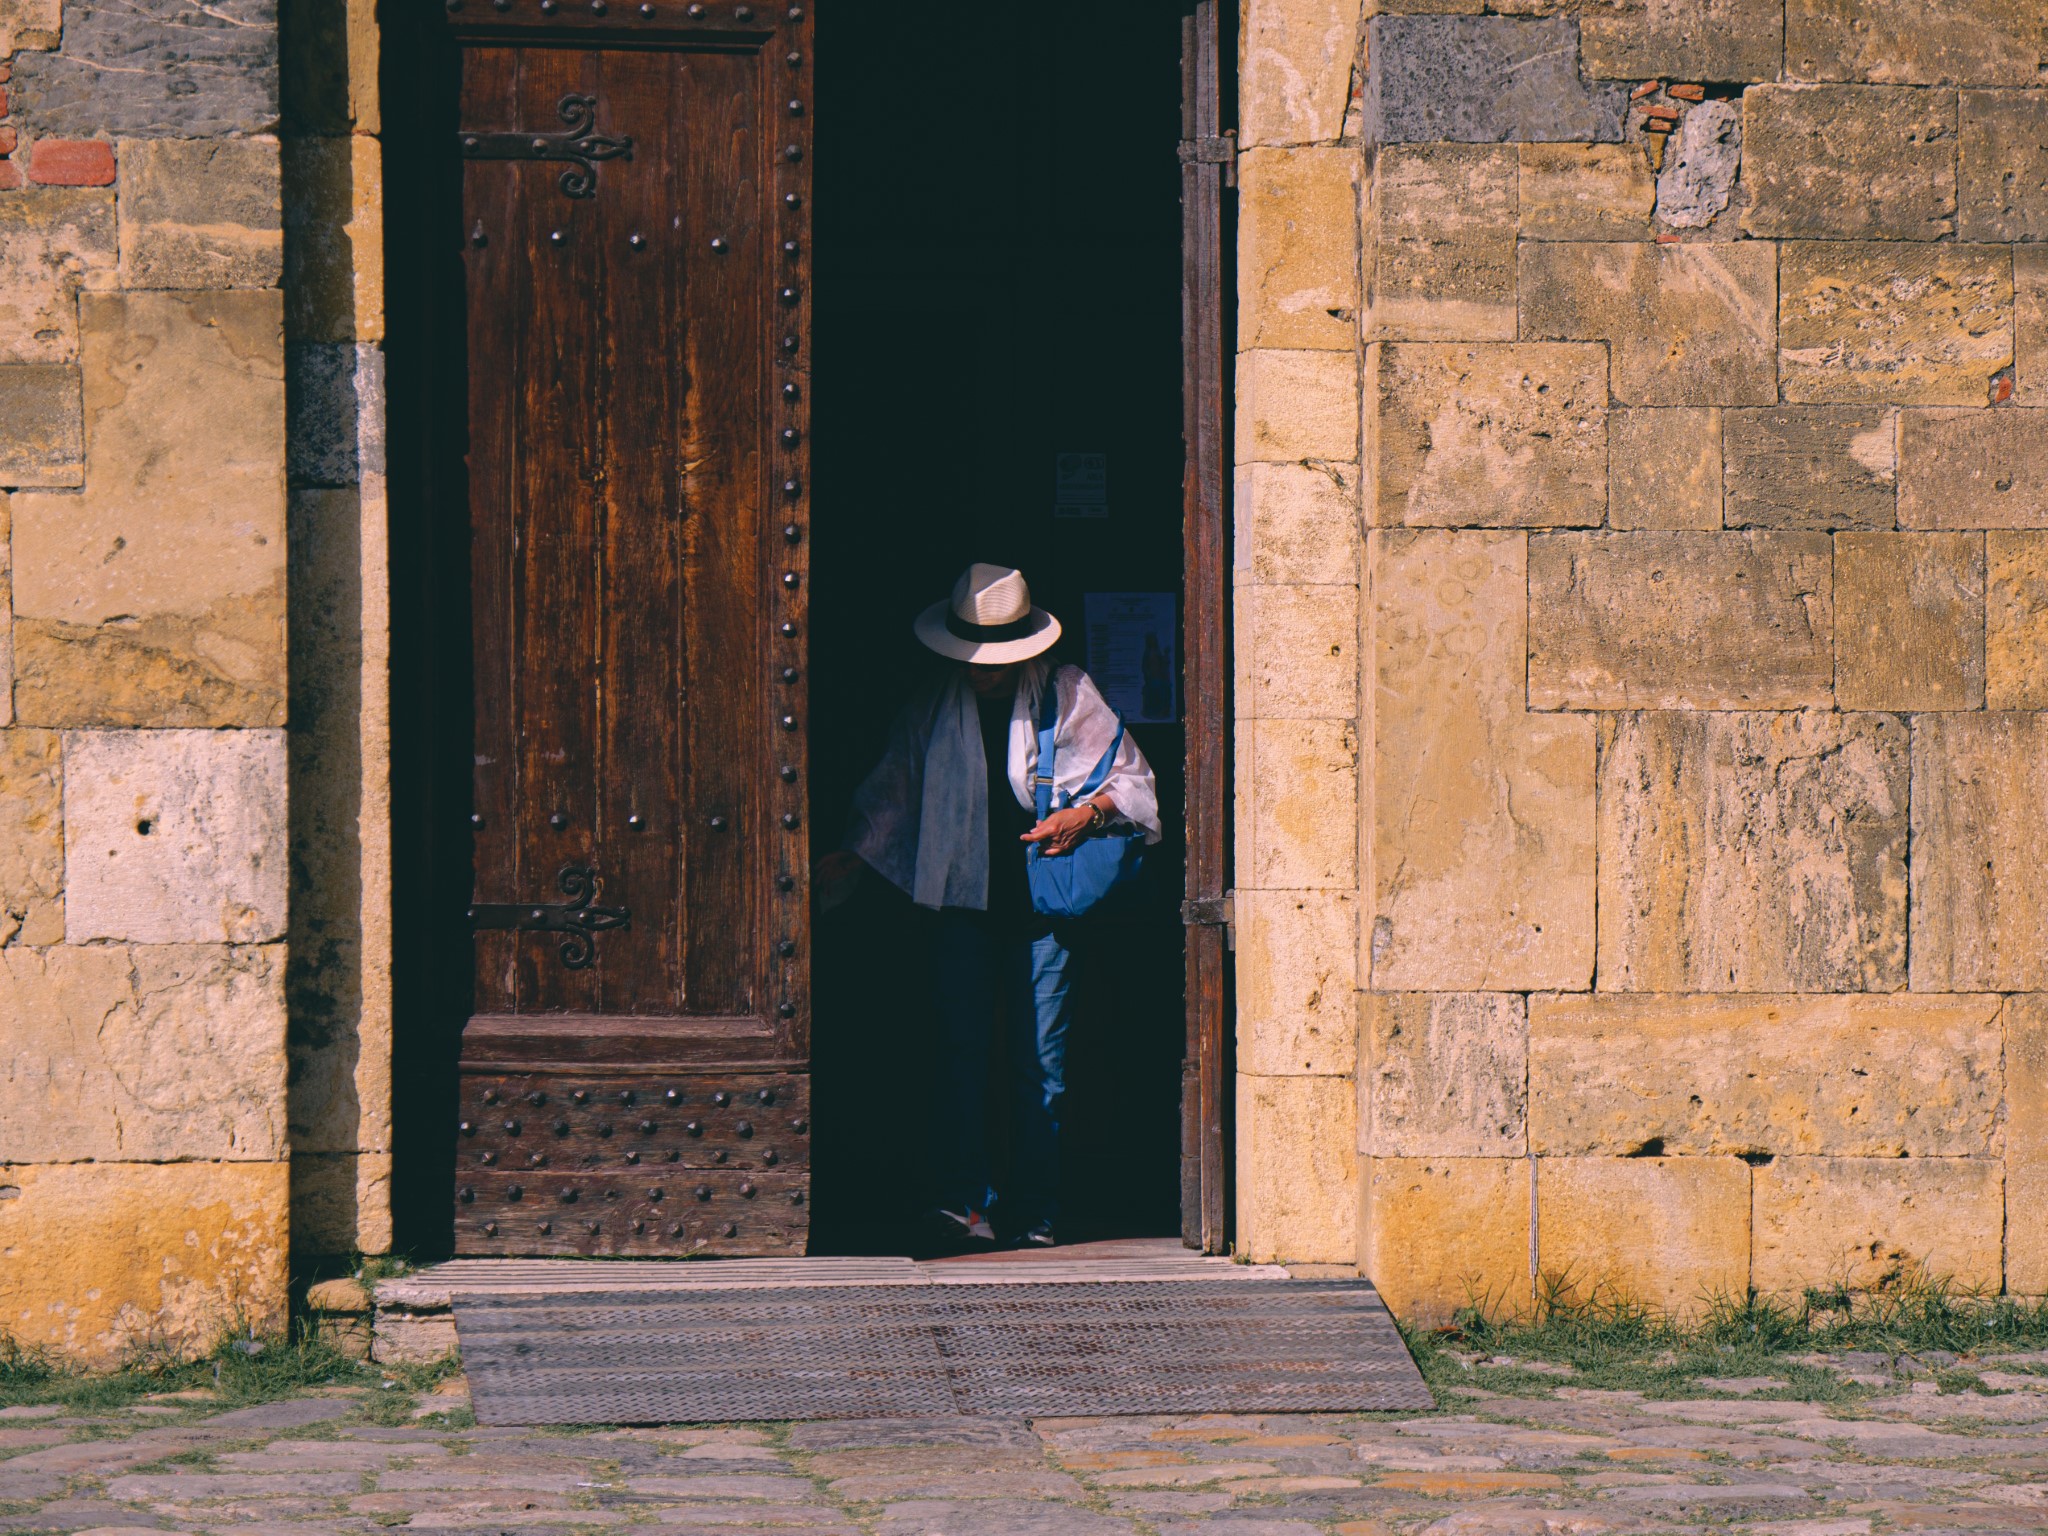
I’ve grown to love street photography more and more over the past few months, especially at night. It’s very refreshing because a urban context is constantly evolving and moving, so it’s never boring even if it’s the same city.
It is also very challenging because a photo opportunity may last only for a few seconds or even less. I miss most of the shots, but I learned not to obsess about that.
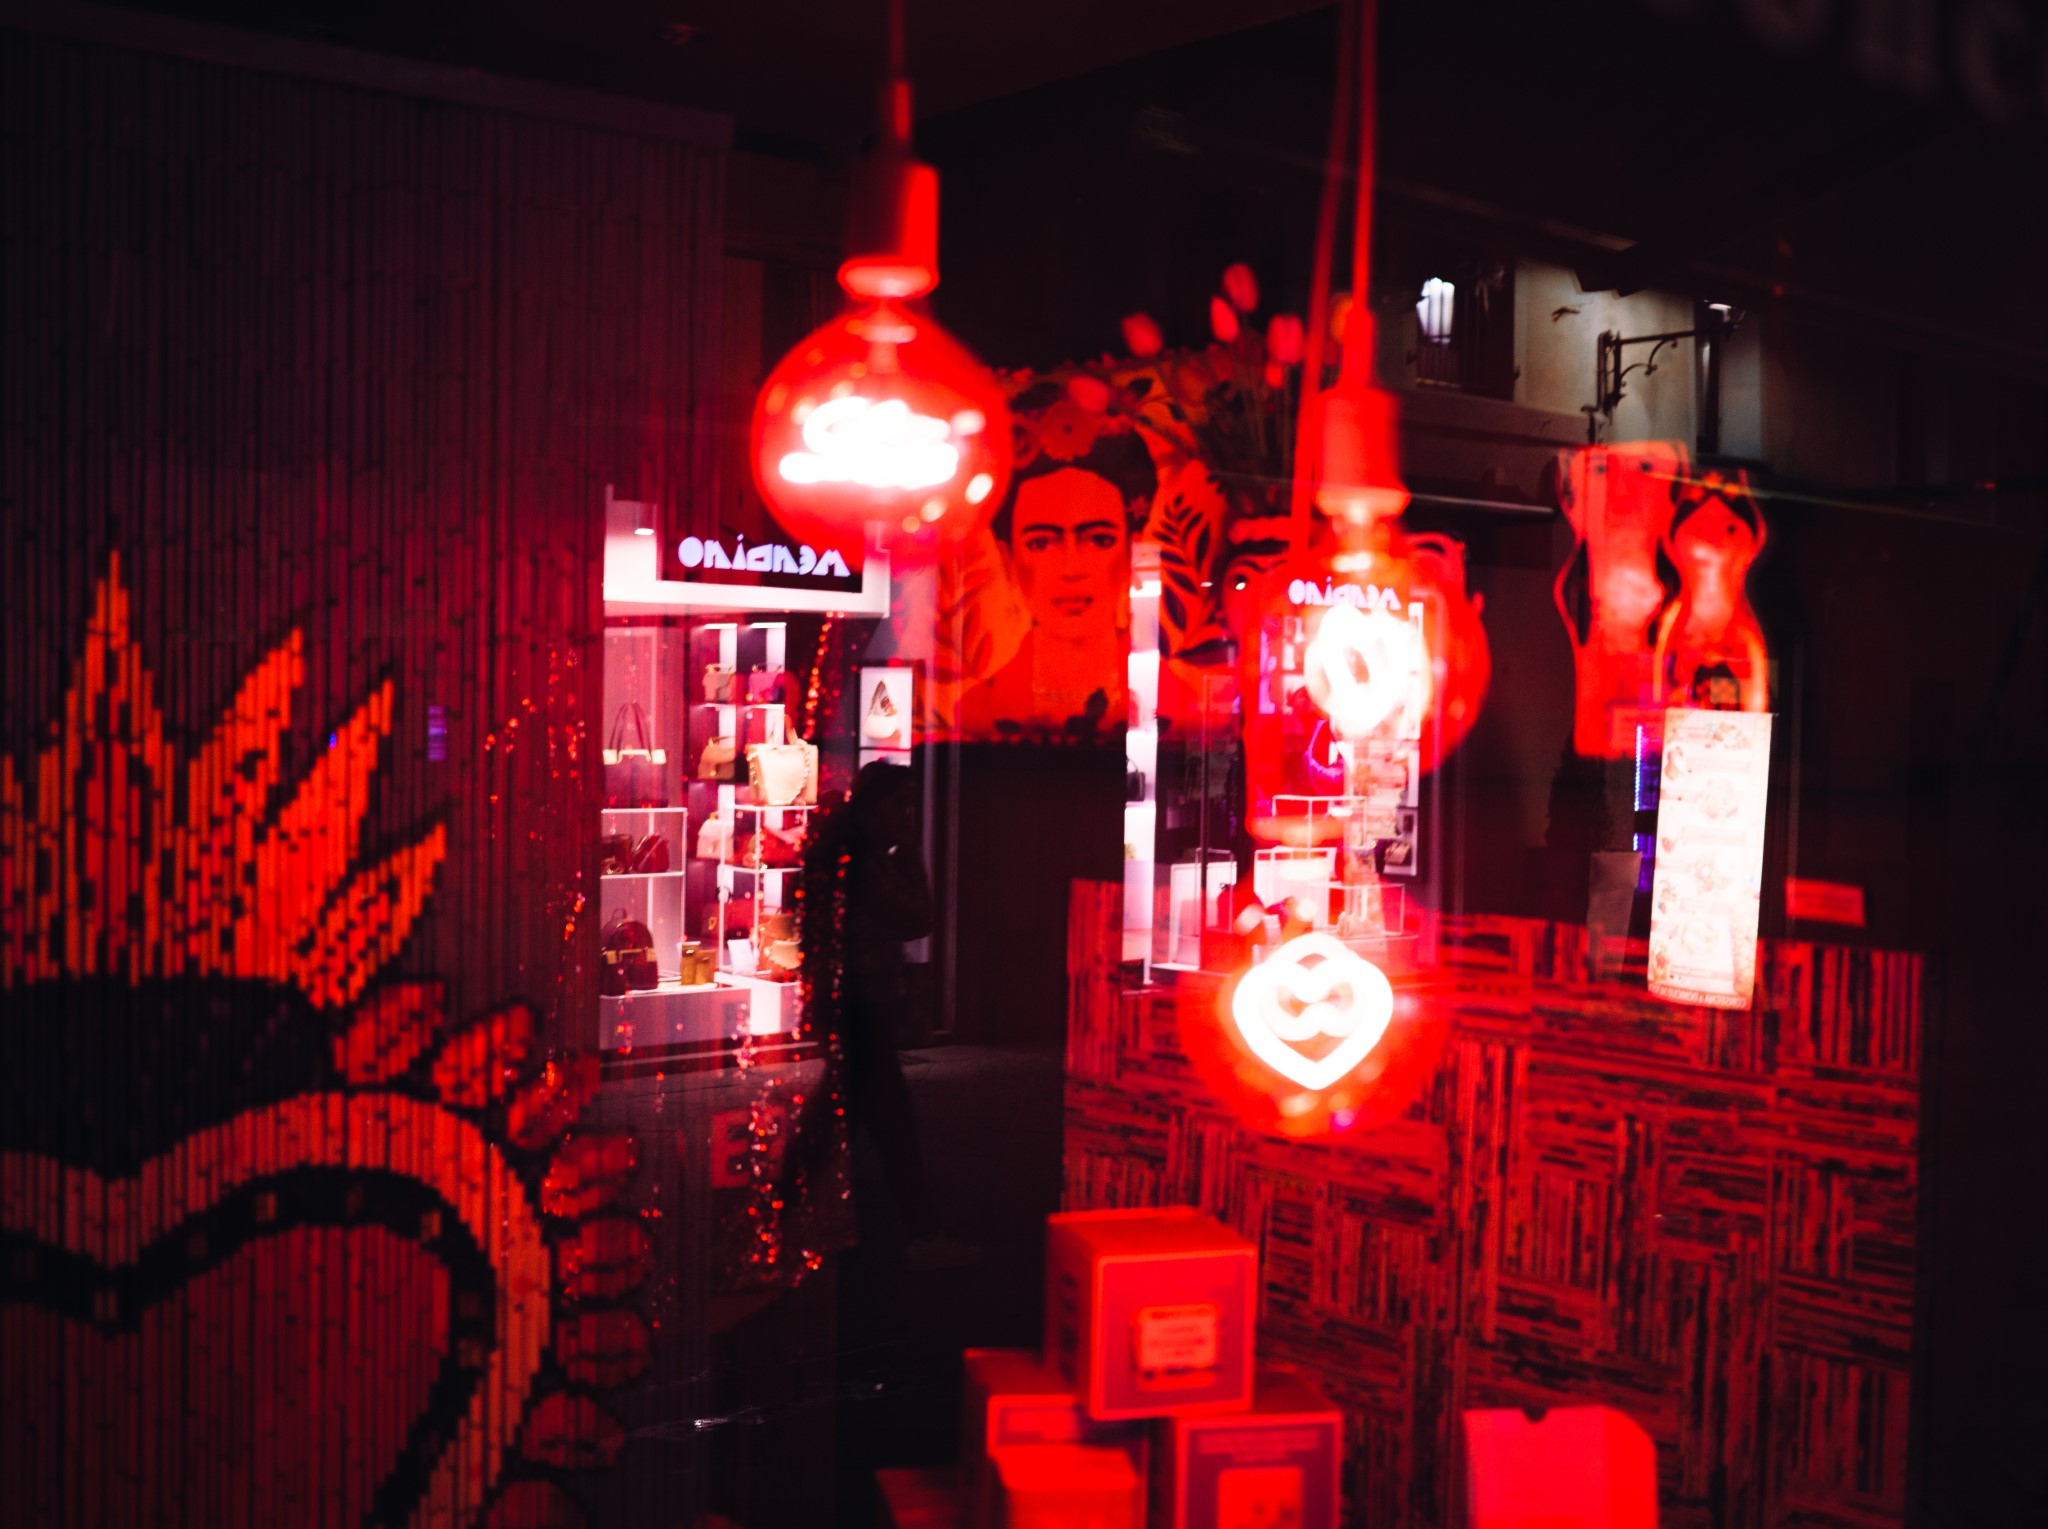
My Kit And Camera Settings
Street photography means handheld, so no tripod. Easy.
I don’t use a camera bag but only a camera strap with a quick release plate. If I feel the area I’m in offers many opportunities, I keep my camera attached to my wrist with a strap to be able to shoot even quicker. My G9 turns on very quick, so I don’t keep it on all the time so the battery lasts longer.
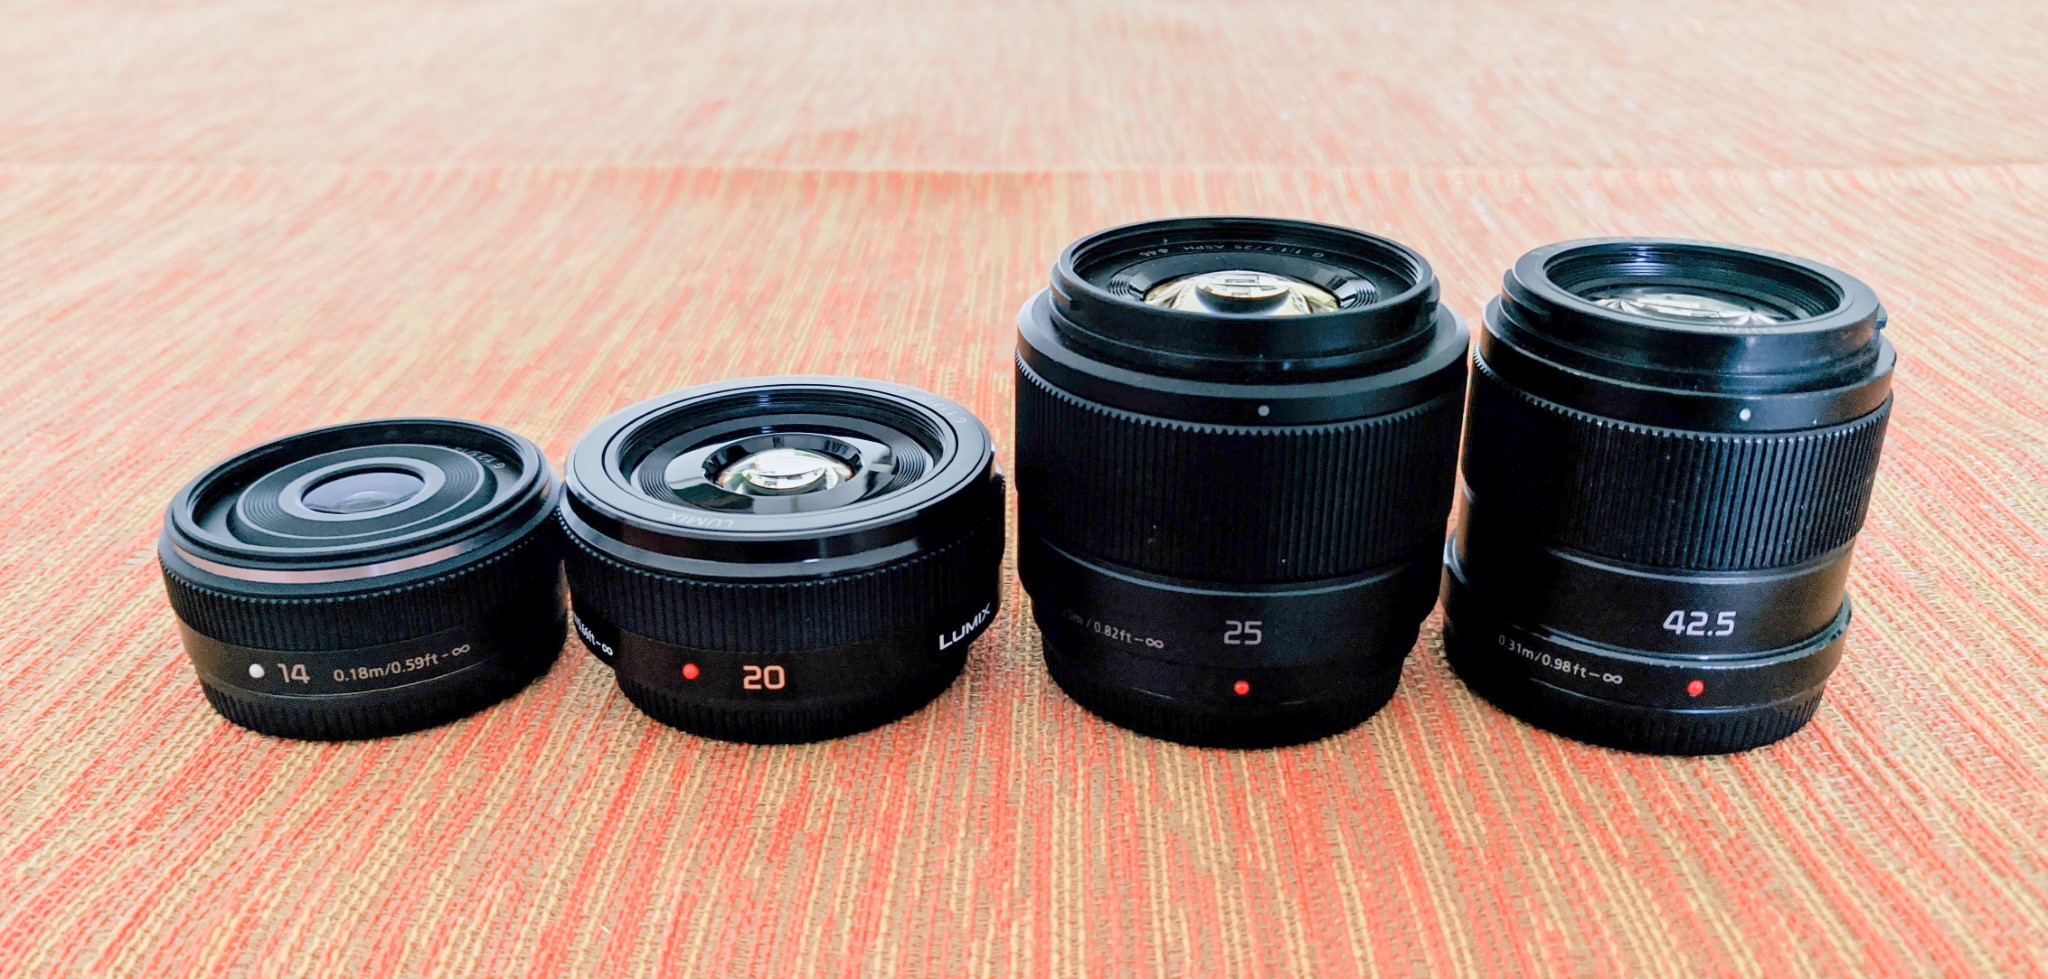
I almost always use prime lenses when I’m out in the streets. They’re fast, compact and sharp. Currently, I have four prime lenses:
- 14mm f/2.5 (28mm full-frame): not getting much use lately as I use the 20mm way more;
- 20mm f/1.7 (40mm full-frame): useful to capture establishing, wider shots in good light; I use this lens mostly in places I don’t know well, like new cities, during the day because focus seeking is slow and becomes unusable at night;
- 25mm f/1.7 (50mm full-frame): equivalent to the famous nifty fifty; I use this lens most of the time when I’m at ease in the area or when shooting in my hometown Milan, Italy;
- 42.5mm f/1.7 (85mm full-frame): a longer focal length to reach a little bit farther or to isolate subjects in a crowded environment. I also love this lens to experiment new compositions.
All of that said, I have the temptation to sell the 14mm and 20mm and keep only the 25m and the 42.5mm, which are way more fun and interesting to shoot with. I don’t use the 42.5mm often, but I simply love it.
I shoot in Aperture Priority with Auto ISO at full f/1.7 aperture during the night or with low light and stopping down to f/2.8 during a sunny day.
I have profiles set on my camera to limit the ISO to 800 or 1600 and to require a minimum shutter speed, depending on the conditions. I prefer blurry photos over no photos.
Creativity
To get shots in a urban environment, the best way is to just go out for a walk, keep moving and observe. I shoot what I find interesting and what picks my attention: this way it never gets boring.
If I feel like I can wait a few moments for a vehicle or a person to line up with something, I certainly do it to get the shot. The key here is trying to anticipate photo opportunities because they come and go very quickly.
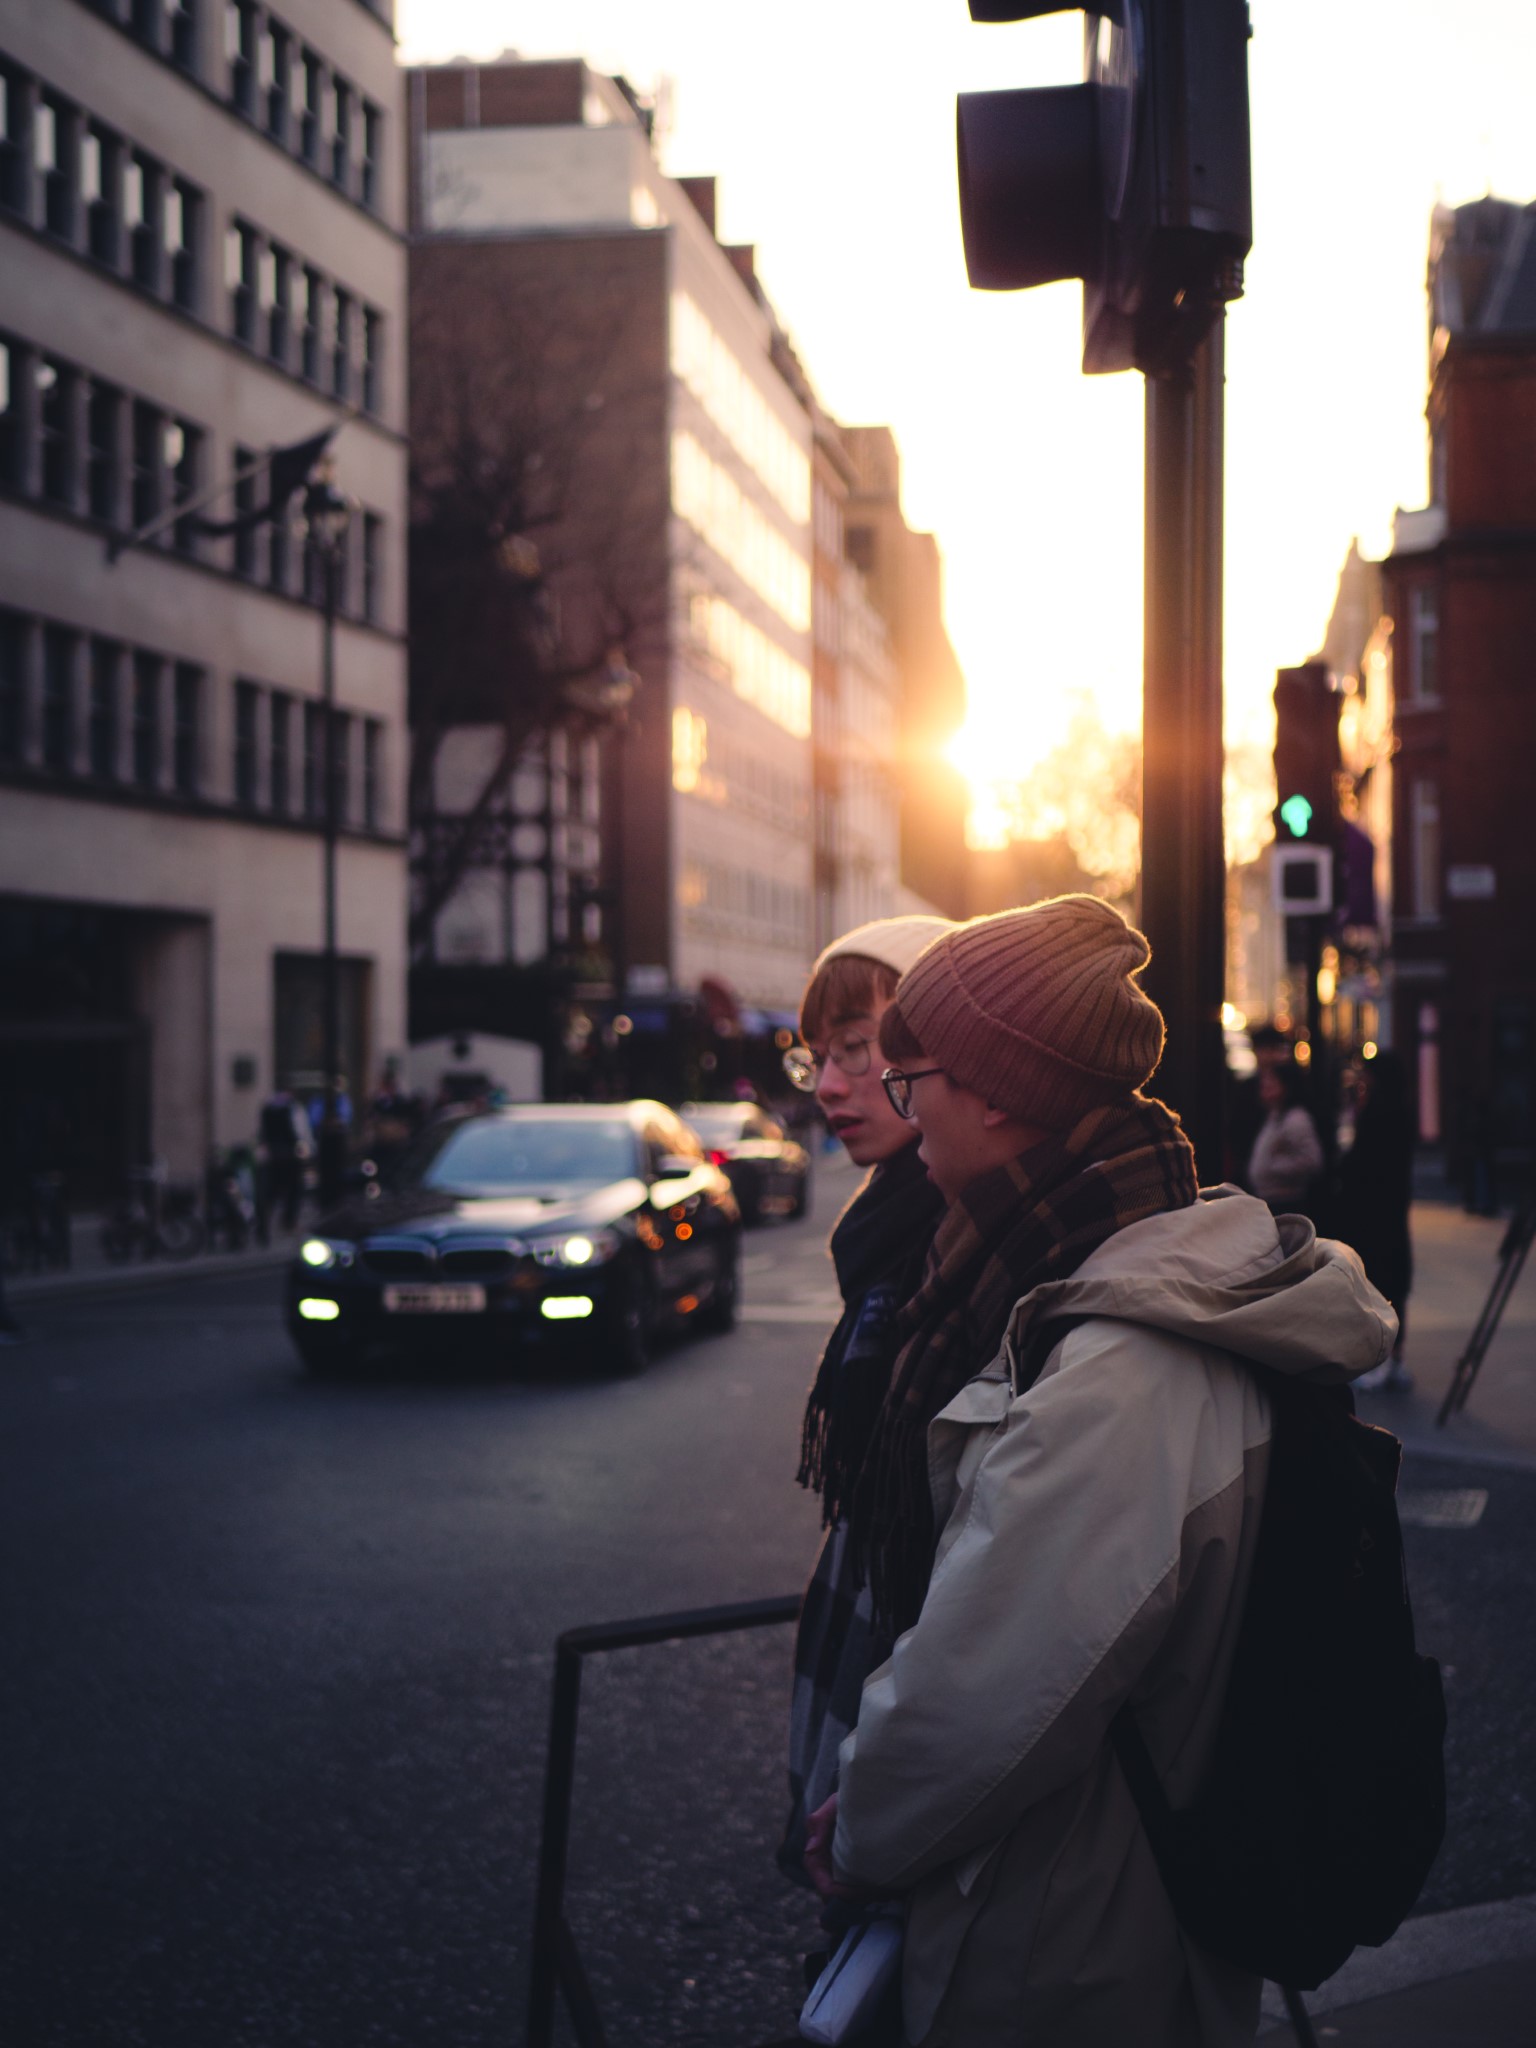
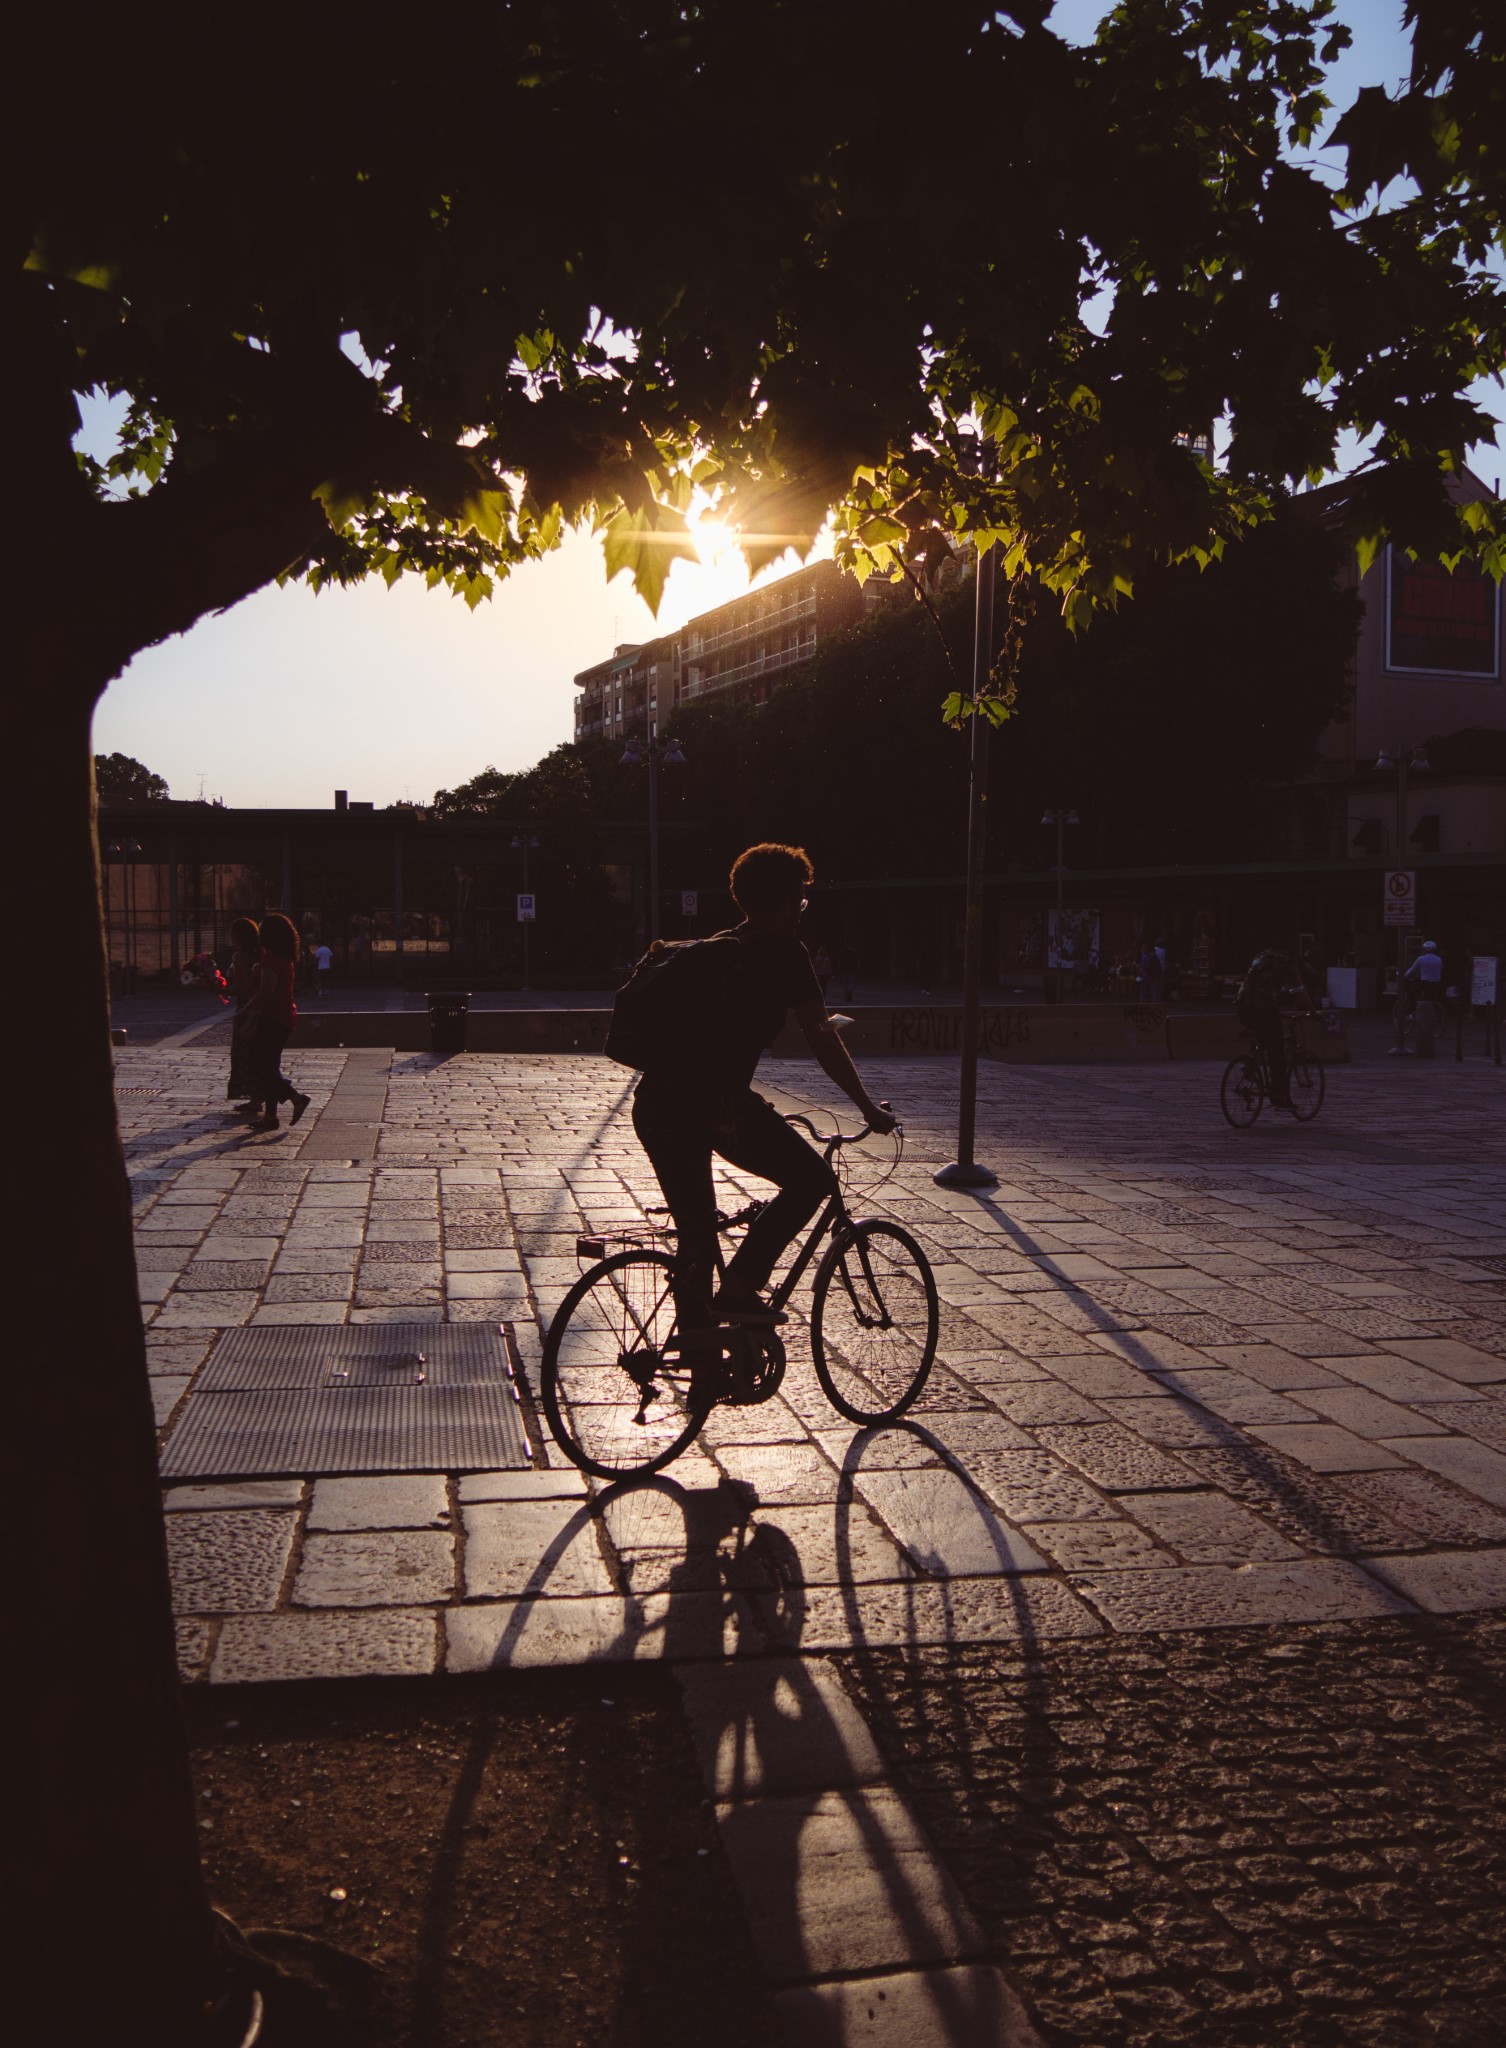
I love shooting into the sun.
Regarding people, I always try not to annoy them. I never get very close, and I aim to make faces not immediately recognizable. My goal is not to shoot portraits, but rather to tell a story about urban life: photos may or may not include people. I find that, often, lights and vehicles are enough to give life to a photo.
I find crowds are not very photogenic, so I try to shoot accordingly.
Depending on the city, area, light and season, I may go back home after a day out with a handful of shots – or a couple hundred.
Editing
My process for downloading and selecting photos is the same I described for landscape shots.
If I’ve visited a new place, I come home with way more shots that I will find usable. If I’m having a walk in my hometown, then I am much more capable to only shoot what I know will work.
As for the actual editing, I adopt a more standardized approach.
Over time, I created a set of Lightroom presets that I use as a starting point. Each preset is tailored to a specific lighting condition and mood.
- Cold Night
- Warm Night
- Split-Toned Night
- Metro
- Cloudy Day
- Rainy Stormy Day
- Sunny Day
- Strong B&W
In general, these presets all include:
- Reduced clarity
- S-curve, with de-saturation of blacks
- Tweaks in color rendering for highlights and shadows
- Adjusted saturation for specific colors.
After applying one of these presets, I proceed to fine tune the image and this usually takes only a few minutes. I remove distracting elements, garbage, and the million cigarette butts that plague our cities, and this can take quite a long time.
With street photography I don’t aim to have a perfectly balanced histogram. On the contrary, I prefer to have more contrast even if certain areas of the image are vastly under- or over-exposed. Impact is what I look for when shooting and editing street photography.
My process for organizing edited street photos is again the same for landscapes, so I won’t repeat it here.